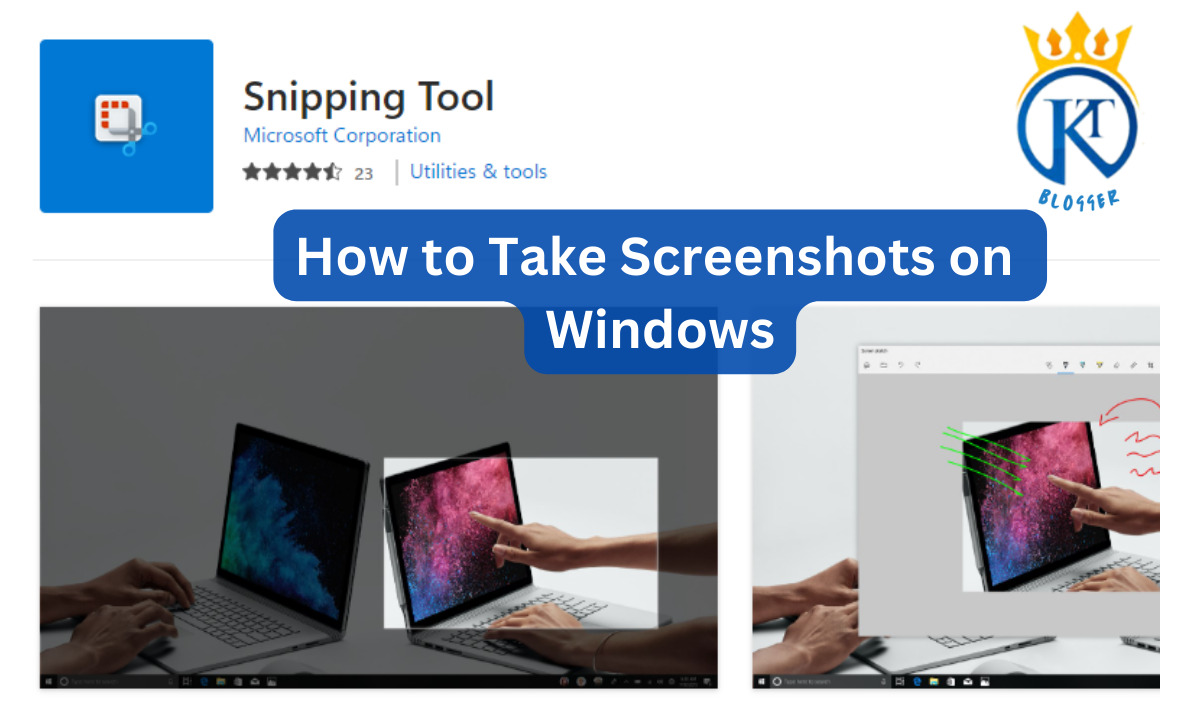
Taking screenshots on Windows 7 can be a helpful way to capture images and preserve them for later use. There are several different methods that you can use to take screenshots on Windows 7. Educational Excellence, How to Take Screenshots on Windows 7 Like a Pro.
The simplest way is to press the Print Screen (PrtScr) button on your keyboard or the Alt+Print Screen buttons together. This will capture a snapshot of your entire screen and copy it to your computer’s clipboard. You can paste the image into any other program that supports images, such as Microsoft Paint or a word processor.
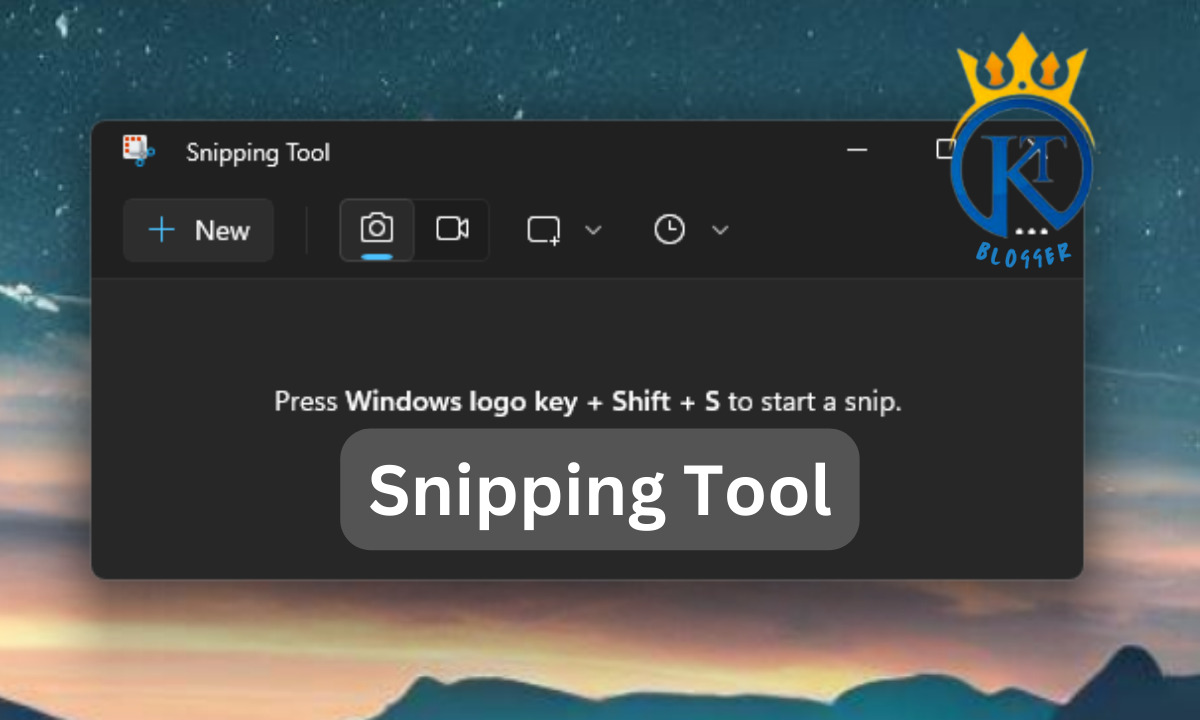
Another method is to use the Snipping Tool, a free program with Windows 7. The Snipping Tool allows you to select a specific screen area to save as an image.
If you need more control over the screenshots you take on Windows 7, you can use third-party programs such as Greenshot or Lightshot. These programs allow you to quickly set up hotkeys that capture portions of your screen with just a few keystrokes. If needed, you can add annotations and arrows to the images and save them in various file formats.
With these various methods, taking screenshots on Windows 7 is quick and easy. Whether you are trying to preserve information from a web page or demonstrate something in an online tutorial, screenshots can be a valuable tool for many tasks. We will learn in this topic How to Take Screenshots on Windows 7,8,10 and 11 on a laptop, Windows, or any computer device.
Content
- 1 How to Take Screenshots on Windows 7 with the Snipping Tool?
- 2 How to Take Screenshots on Windows 7 with the Snip and Sketch Tool?
- 3 How to Take Screenshots on Windows 7 with the Print Screen Button?
- 4 How to Take Screenshots on Windows 7 with a Light Shot?
- 5 How to Capture the Entire Screen?
- 6 How to Capture a Specific Window?
- 7 FAQs
- 7.1 How can I take screenshots on Windows 7 PC?
- 7.2 Where are my screenshots saved?
- 7.3 What is the shortcut key to take a screenshot in Windows 7?
- 7.4 What file types can I save my screenshots as?
- 7.5 Why can’t I take a screenshot on Windows 7?
- 7.6 How do you take a partial screenshot on Windows 7 without the snipping tool?
- 8 Conclusion:
How to Take Screenshots on Windows 7 with the Snipping Tool?
1. Open the Snipping Tool from your Programs list.
2. Select the New option to start a new screenshot.
3. Use your mouse to draw a box around the area you want to save as an image.
4. Click Save As and choose a file type and name for your screenshot.
5. Your screenshot will be saved in the specified location, ready to use.
How to Take Screenshots on Windows 7 with the Snip and Sketch Tool?
1. Open the Snip & Sketch tool from your Programs list.
2. Select the New option to start a new screenshot.
3. Use your mouse to draw a box around the area you want to save as an image or use the arrow icon in the window’s top right corner to capture full-screen shots.
4. Click Save As and choose a file type and name for your screenshot.
5. Your screenshot will be saved in the specified location, ready to use.
How to Take Screenshots on Windows 7 with the Print Screen Button?
1. Press the “Print Screen” key on your keyboard (often abbreviated as Print Scrn).
2. Open your favorite image editing program, such as Microsoft Paint.
3. Paste the screenshot using the Ctrl + V keyboard shortcut.
4. Use the tools available in your image editing program to save it as an image file or copy it to another application.
5. Your screenshot will be saved in the specified location, ready to use.
How to Take Screenshots on Windows 7 with a Light Shot?
1. Download the Lightshot application for Windows 7 from its official website.
2. Install and launch the application on your PC.
3. Use your mouse to draw a box around the area you want to save as an image or use the arrow icon in the window’s top right corner to capture full-screen shots.
4. Click Save As and choose a file type and name for your screenshot.
5. Your screenshot will be saved in the specified location, ready to use.
These are just a few methods that you can use how to take screenshots on Windows 7, so experiment with different options and find out which one works best for you! With a little practice, you’ll take perfect screenshots in no time!
How to Capture the Entire Screen?
- Press the “PrtScn” or “Print Screen” key on your keyboard.
- Open an image editing program like Microsoft Paint or GIMP.
- Paste the screenshot using the Ctrl + V keyboard shortcut or by clicking Edit > Paste in the menu bar of your image editing program.
- Use the tools available in your image editing program to save it as an image file or copy it to another application.
- Your screenshot will be saved in the specified location, ready to use.
How to Capture a Specific Window?
- Click the window that you want to capture.
- Press the “Alt + PrtScn” keys simultaneously on your keyboard.
- Press the “Window key + Shift + S” keys simultaneously on your keyboard.
- Open an image editing program like Microsoft Paint or GIMP.
- Paste the screenshot using the Ctrl + V keyboard shortcut or by clicking Edit > Paste in the menu bar of your image editing program.
- Use the tools available in your image editing program to save it as an image file or copy it to another application.
- Your screenshot will be saved in the specified location, ready to use.
FAQs
How can I take screenshots on Windows 7 PC?
You can take screenshots on Windows 7 PC using the Snipping Tool, Snip & Sketch Tool, Print Screen key, or Lightshot application.
Where are my screenshots saved?
Your screenshots will be saved in your chosen location while taking them. If you don’t specify a specific folder, they will be saved to your default picture folder (in the Pictures library).
What is the shortcut key to take a screenshot in Windows 7?
The shortcut key for taking a screenshot in Windows 7 is “PrtScn” or “Print Screen” on your keyboard.
What file types can I save my screenshots as?
You can save screenshots in popular image formats such as JPEG, PNG, BMP, and GIF. You may also choose to save it as a PDF document.
Why can’t I take a screenshot on Windows 7?
If you cannot take a screenshot on Windows 7, it is likely due to a lack of permissions or software conflicts. Ensure your account has the necessary file and folder permissions, or try reinstalling the application. Additionally, disable any antivirus programs or other third-party applications that may interfere with taking screenshots. If these steps do not resolve the issue, contact Microsoft technical support for assistance.
How do you take a partial screenshot on Windows 7 without the snipping tool?
You can take a partial screenshot on Windows 7 without the snipping tool by using the Lightshot application. This allows you to draw a box around the area you want to save as an image. Once you’ve captured your screenshot, it will be saved in the specified location, ready to use.
Conclusion:
Taking screenshots on Windows 7 is easy and quick with the various methods and applications. Try the above-mentioned options to find which works best for your laptop, and practice taking perfect screenshots! You can quickly capture any screen or window with a few simple steps. Many people ask How to Take Screenshots on Windows 7 its an easy and quick way we explain in this topic.